EVILBANE enemies and bosses
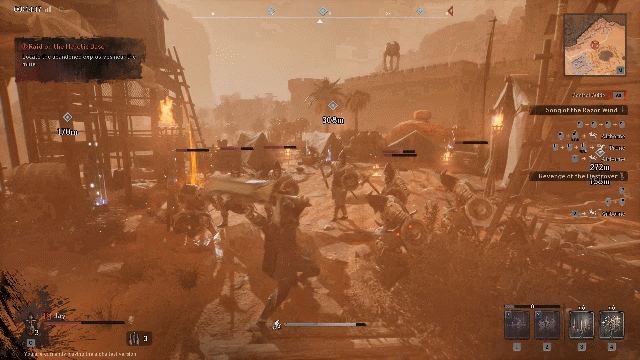
EVILBANE mixes human and demon enemies. Official HUD screenshots name bounty targets including Blades, Blades (Elite), Jack, Wraith, Ruffian, Gunslinger, Huntress, Mutant and Mutilator. Region bosses appear once the front line reaches them.
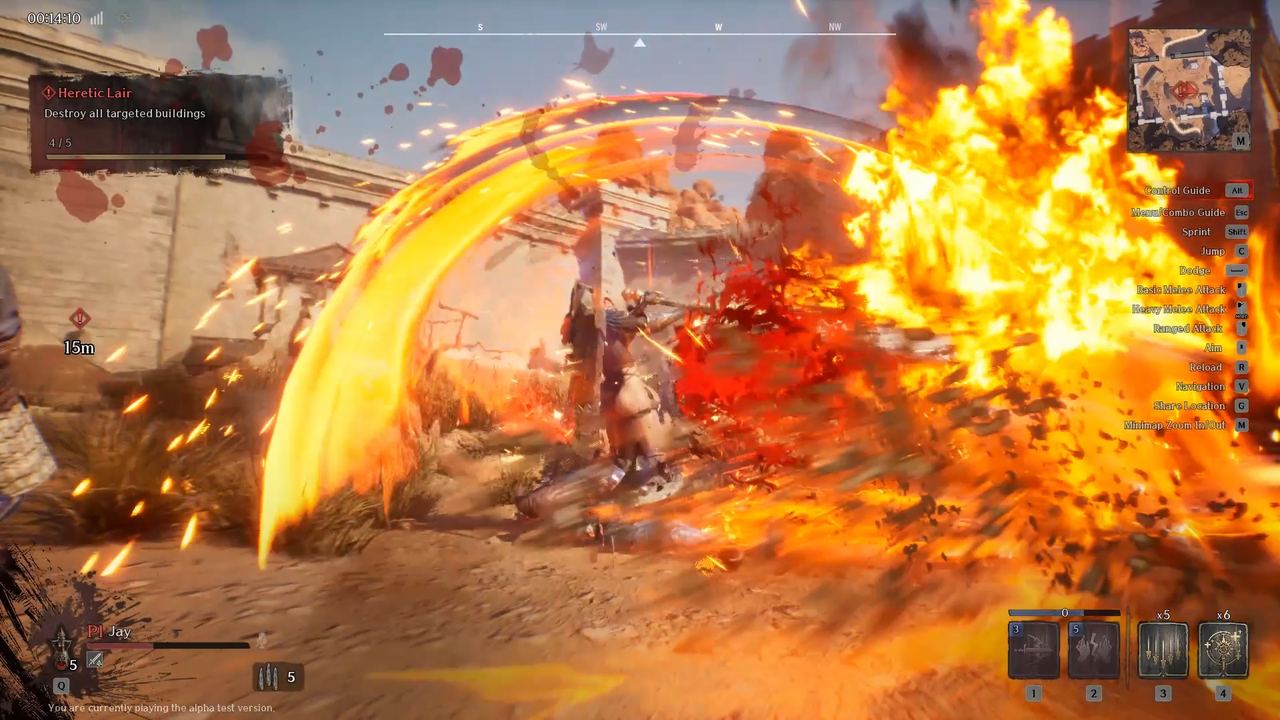 Official EVILBANE screenshot: in-run HUD — Netmarble Monster / Netmarble.
EVILBANE throws two species of problem at you — demons crossing over from the Demon Realm and the human Heretics who turned on their own for forbidden power — plus whatever the world already had. The official HUD screenshots are the best public record of what you actually fight, because they print the names.
The bounty board
Bounty entries visible in an official in-run screenshot:
| Bounty | Notes from the HUD |
|---|---|
| Bounty: Blades | Standard variant |
| Bounty: Blades (Elite) | A marked, tougher version of the same target |
| Jack | Named humanoid target |
| Wraith | Named target |
| Ruffian | Named target |
| Gunslinger | Named target |
| Huntress | Named target |
| Mutant | Named target |
| Mutilator | Named target |
The "(Elite)" suffix on a repeat target is worth noticing: it means bounties were tiered rather than one-off, and that the same enemy family reappears stronger later.
The two tells that decide fights
Everything about fighting a big enemy in EVILBANE comes down to reading two signals, both documented in the official FAQ:
| Tell | Meaning | Response |
|---|---|---|
| Blue glow on the enemy's body | A QTE window is open | Press the prompted input for a heavy hit, a fast reload or another special effect |
| Red eyes | The enemy is charging a powerful attack and will not flinch | Disengage — no amount of damage will interrupt it |
There is a third, harsher lesson the FAQ states outright: some attacks cannot be dodged even with perfect timing. Those you escape by being outside the attack range, not by reacting faster.
Bosses
- Mid-bosses and main bosses are the targets the Lock Target key (Tab, or RS) actually works on. Locking one pins the camera to it, and switching to a ranged weapon breaks the lock — so a boss fight is a melee commitment by design.
- Colossal region bosses are part of the War system: once the front line has been pushed far enough, the enormous being that rules that region reveals itself. That structure belongs to the campaign layer the producer described, which was not part of the first playtest.
- Boss health bars run across the top of the screen in the in-run HUD, above the compass.
Enemy composition by location
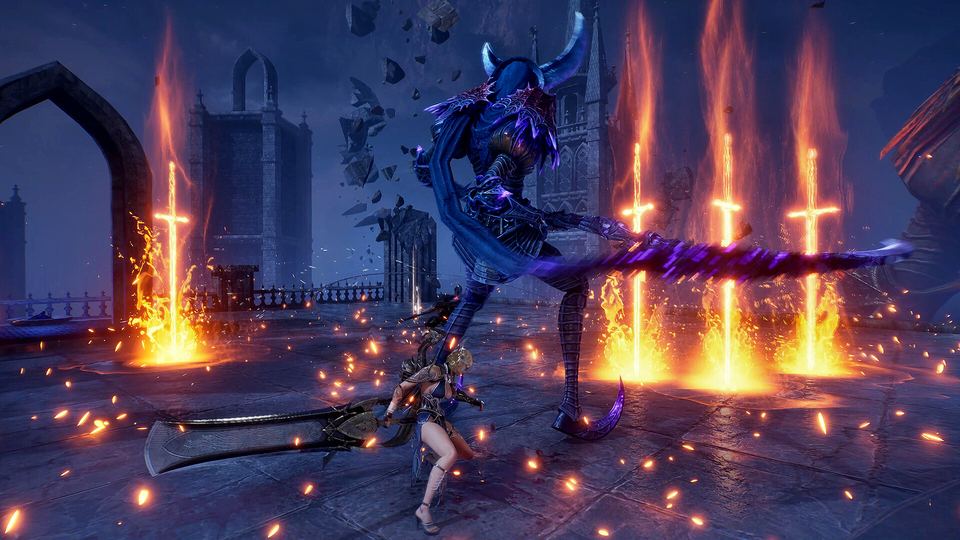
The official screenshots are specific about how encounters are built: forest camps with armoured, horned humanoids; snowbound ruins with a single heavy opponent; city ruins with multi-limbed monsters carrying glowing blades; and objective-driven raids where the enemy sits behind buildings you are told to destroy. Encounters mix melee grunts, ranged threats and one large anchor enemy, which is why the game wants you to carry both weapon types.
Objectives inside an enemy encounter
Two marker colours define what an encounter is actually asking:
- Red markers — Main Missions. Clearing them is how you win the Operation.
- Blue markers — Side Missions. They pay out recovery items, run buffs and the materials used to unlock Heavenstone skills.
One HUD screenshot shows a Main Mission tracker reading Destroy all targeted buildings at 4/5 — so at least some Operations treat the environment as the enemy, not just the creatures in it.
Failing
Death is not the only failure state. If the Operation is not cleared, the official rule is blunt: materials and gold collected during the run are lost. Dying to the fifth enemy on the way to a pickup costs you the pickup and everything before it.
Answering "is it too hard for one player?"
Some of it is. The official content post says some Operations are hard to handle alone and suggests gathering allies, and the game is balanced around up to four players. If you play solo, the bounties and mid-bosses are where the difference shows first — they are the fights where you cannot cover both the melee aggro and the ranged weak-point work at once.